How to Record an electric guitar without an Amplifier -Direct Recording
How to Record an electric guitar without an Amplifier -Direct Recording
Week 1 assignment
 My name is Jonatan Rosales from Benalmdena, Spain. Im doing a course «The modern Musician Specialisation» at Coursera by Berklee college of music.
In this lesson I will be teaching How to Record an Electric Guitar o Bass without an amplifier, known as Direct Recording.
This is the gear I will be using for lesson is:
-Electric guitar (Gibson Les paul Studio)
-A 1/4 inch TS cable
-A Foucsrite Saffire Pro 24 dsp
-A firewire 400 to 800 cable
-A Macbook Pro computer
-A set of Sony MDR 7506 headphones
-Daw Logic Pro X
-Guitar Amp software plugin by Logic
I’m going to show you how to record a guitar or bass without an amplifier using an external audio interface with a instrument input connected to a macbook pro, Using Logic pro X as a DAW.
Guitar
The Guitar uses pickups to get the strings vibrations into voltage variation, the pickup of a guitar or bass is an input transducer.
Type of cable
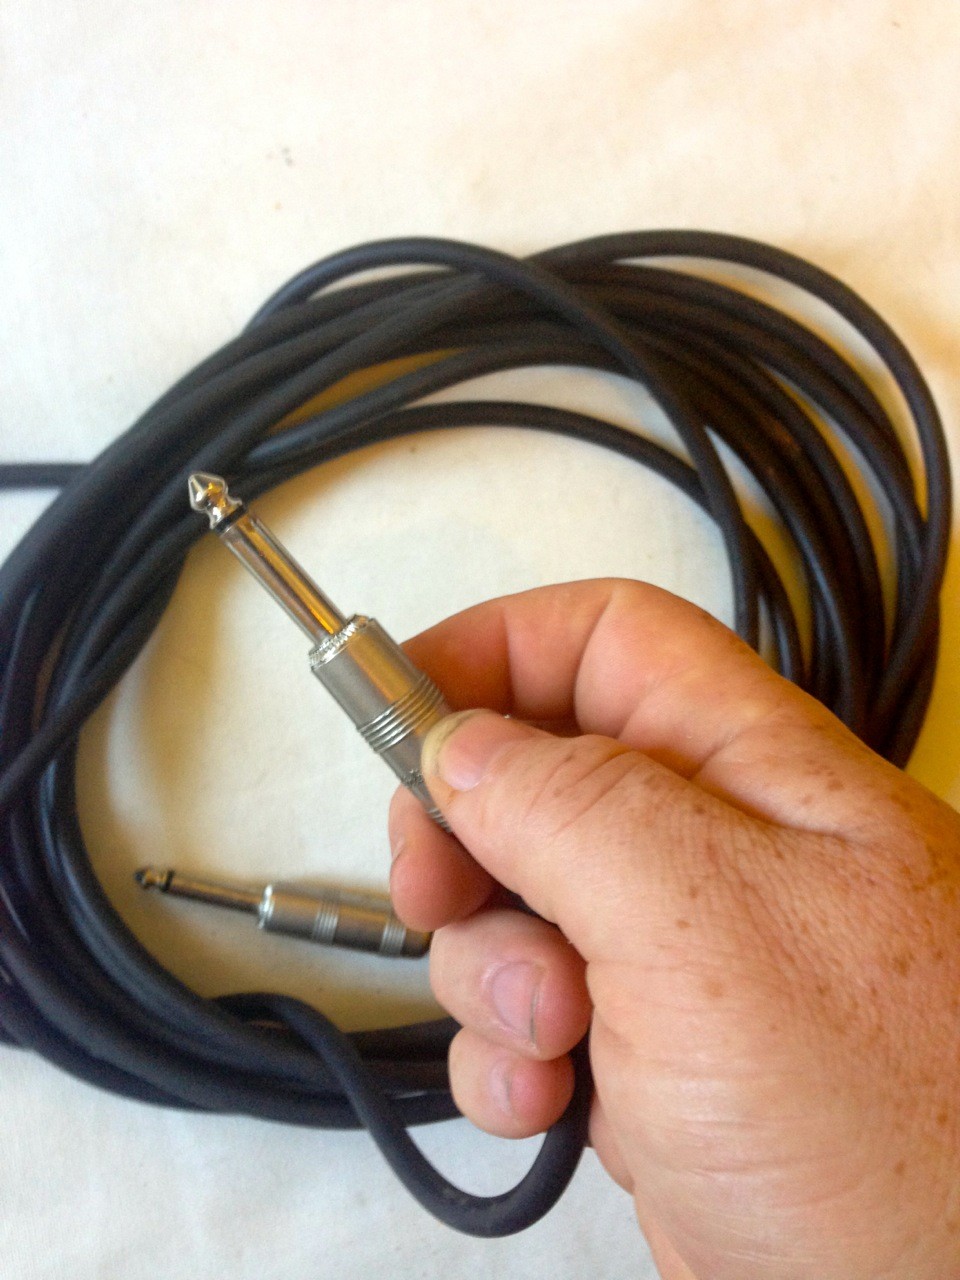
To get the signal from the guitar to the Audio interface I will be using a 1/4 TS cable, the TS cable has two segments, a tip and a sleeve. We call this a»single conductor cable» were the signal is sent along the single conductor, and the outer sleeve is there to prevent noise from getting into the cable. this type of cable is also known as «instrument cable».
A good thing to have in consideration is to use a short TS cable when recording because it can produce noise, the longer the TS cable is, the more probability you will end having some issues with noise. If you are in a situation were the recording from is far from the Audio interface, is better to use a short TS cable connected to a DI box and then connectt in the output of the DI box an XLR cable to reach the audio interface, that will prevent noise.
Interface
I have to say that my audio interface has a designed specific two instrument inputs that lets me plug in directly into the audio interface.
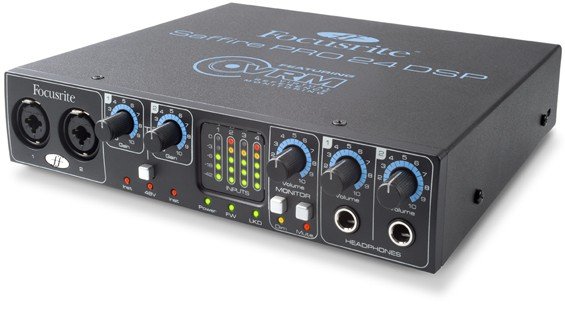
Before connecting the cable to the Audio interface make sure you put down to 0 all the all the volumen controls and gain, to prevent any clips that could damage your speakers. Once is connected then you can set the levels.
Connecting the cable to the Audio interface and Set volumen and gain control to 0
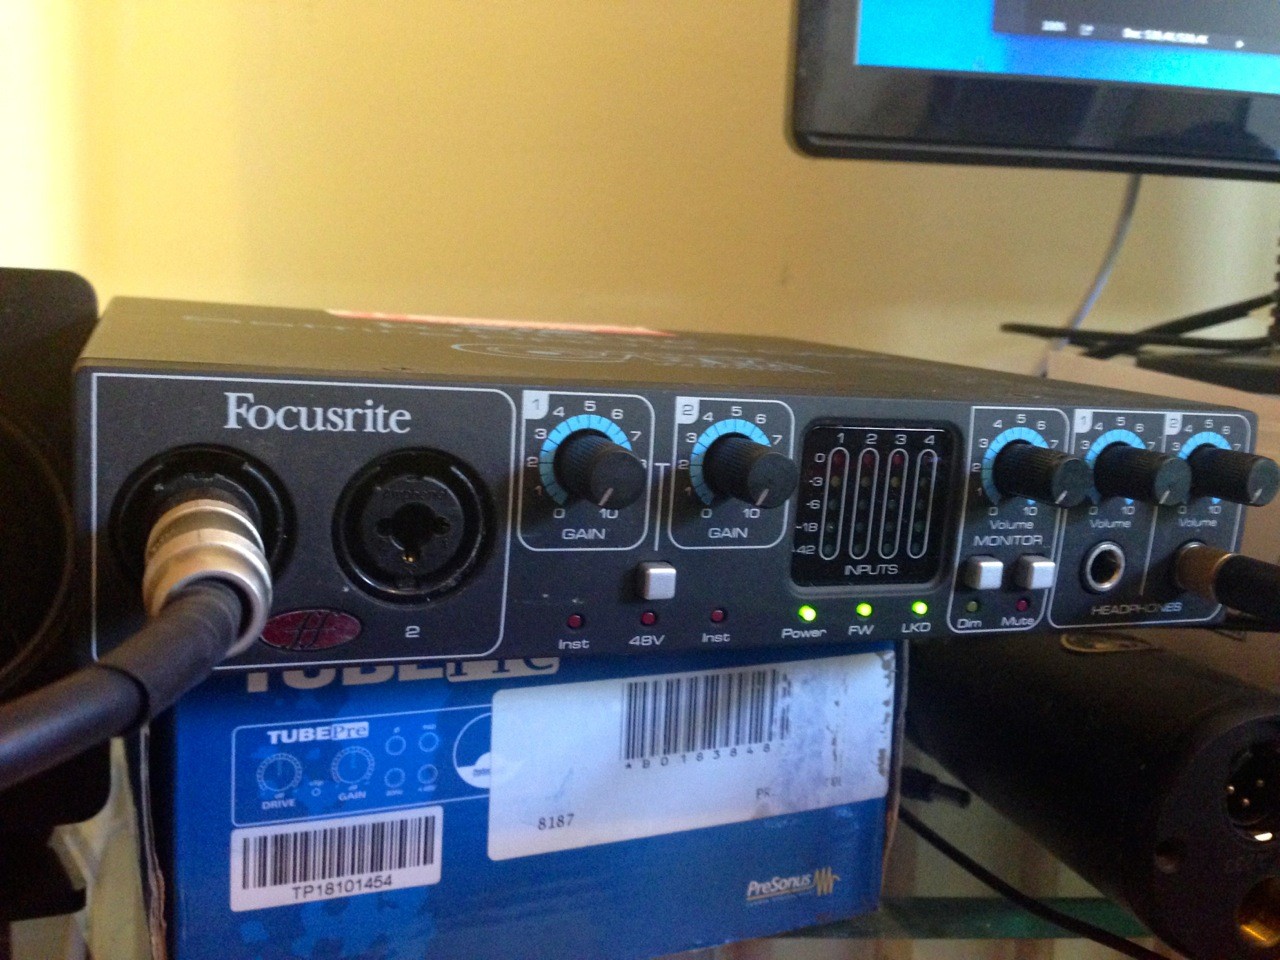
The reason why I bought this audio interface is because is mobile, compact, versatile, with a very low latency. It also has a great tool that is call VRM “virtual reference monitor”. What it does is to emulate different environments (studio, home studio, living room) and is able to emulate the most iconic studio monitor or home HIFI on your headphones.
If possible is always better to monitor the instrument outside the computer to prevent delay / latency.
Firewire 400 / 800
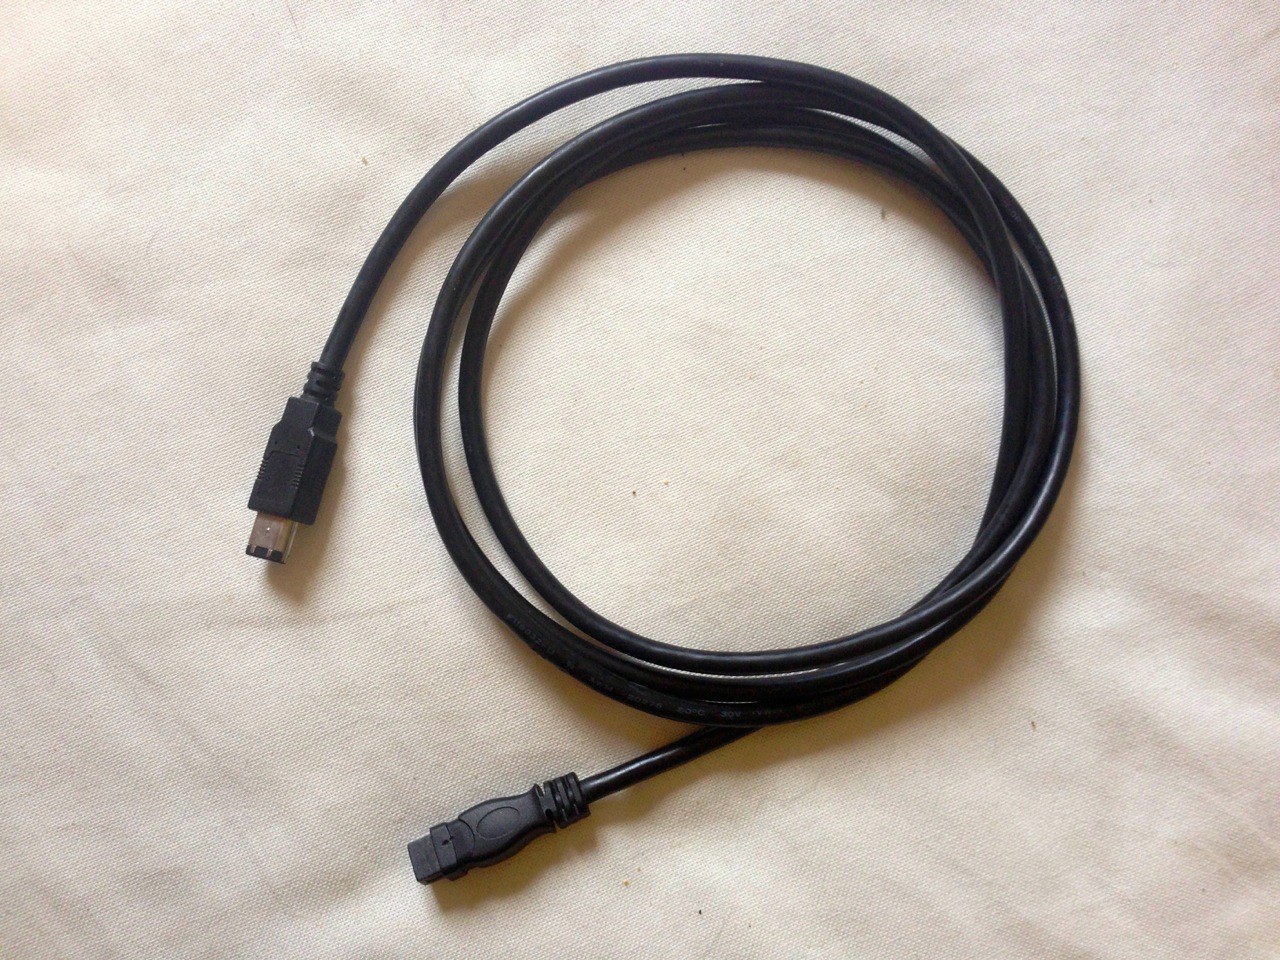
In the Audio Interface is where all the magic is happening, the analog signal is converted (AD conversion) into digital (sampling) then the signal flow goes through the Firewire 400/800 cable as a binary stream from the Audio interface and enters in my DAW: Logic pro X.
The Daw

Logic Pro X
To choose a virtual guitar amp (by Logic Pro X) In the Audio track I go to Audio FX and choose:
Amp and Pedals > Amp Designer
Latency / delay
To choose the right Hardware and improve latency I go to In the top bar Logic Pro X main menu click on:
Logic pro X> Preferences > Audio > Output Device: choose Saffire, and the same for Input Device.
Logic pro X > Preferences > Audio > and Lower the I/O Buffer Size.

As a result you will se that the resulting latency has gone down.
Low Latency Mode
This is useful when recording audio tracks, especially if you have many affects and plugins on each channel. In this case there is a good tool call “low latency mode” click on it and it will turn into orange color.
This function stops or bypasses all the plugins and it helps to improve the DAW performance of the CPU and Ram Memory available.

Now I’m ready to record, I check that the levels on the Audio interface are correct. When I play the track back from Logic pro X the audio goes from the audio track to the main output of Logic Pro X.
Now the sound exits the computer through the 400/800 firewire cable and goes to the Saffire interface where I can monitor the sound in my Headphones.
